Pellet smoker temperature stability is not a feature you buy. It is a habit you build, one cook at a time, and it starts before you plug the thing in.
Most people blame the grill. I have watched a guy with a $1,400 rig fight a 40 degree swing all afternoon because he loaded damp pellets and left the lid cracked. I have also watched a cheap box hold within 8 degrees for 12 hours because the owner knew his firepot. Four things decide the outcome, in order: dry fuel of consistent length, a clean firepot, an undisturbed controller, and a rig that is not parked in a wind tunnel.
Get those four right and the brand on the lid stops mattering as much as the forums say it does.
Why you should trust me
I have been cooking barbecue on pellet grills for 14 years, and I have judged KCBS contests for most of that stretch. I keep a temperature graph for every cook, part of a 20 year logbook of hold times, pellet brands, and what the weather did to the smoke. I own four pellet grills. I have cooked more briskets than I can count, and I still write down the numbers, because memory is a liar and a graph is not.
I judge pellet grills the way I judge a brisket: show me the temperature log. I do not care what the box says the grill can do. I care what it did between midnight and 6 AM while I was asleep.
How I picked and how I tested
This is a how to guide, not a shootout, so the gear below is the gear you point at the cook: one rig to hold the temp, one bag of pellets to feed it. Everything else in a stable cook is technique.
The protocol I run before I trust any pellet grill with a $60 packer brisket is the same one I have used for years. I clean the firepot and vacuum the ash. I fill the hopper and level the pellets. I run the grill at 225 with a leave in probe clipped at grate level, in the middle of the chamber, away from the firepot end. I log the temp every minute for two hours with the lid shut, then I log it again across a real cook, ideally overnight, ideally with wind.
The numbers I trust: a hold time of 10 degrees of swing or less across four hours is a grill I will cook on while I sleep. Fifteen degrees is workable if the average is right. Thirty degrees is a campfire with a hopper, and no amount of app notifications will fix it.
I also watch what the controller does in the first 30 minutes, because that is where most of them lie. A PID that overshoots to 275 on startup and takes 40 minutes to settle is telling you how the rest of the cook is going to go.
The gear that does the work
Two pieces of hardware matter for this job: the rig holding the temperature and the fuel feeding the auger. Everything else you already own.
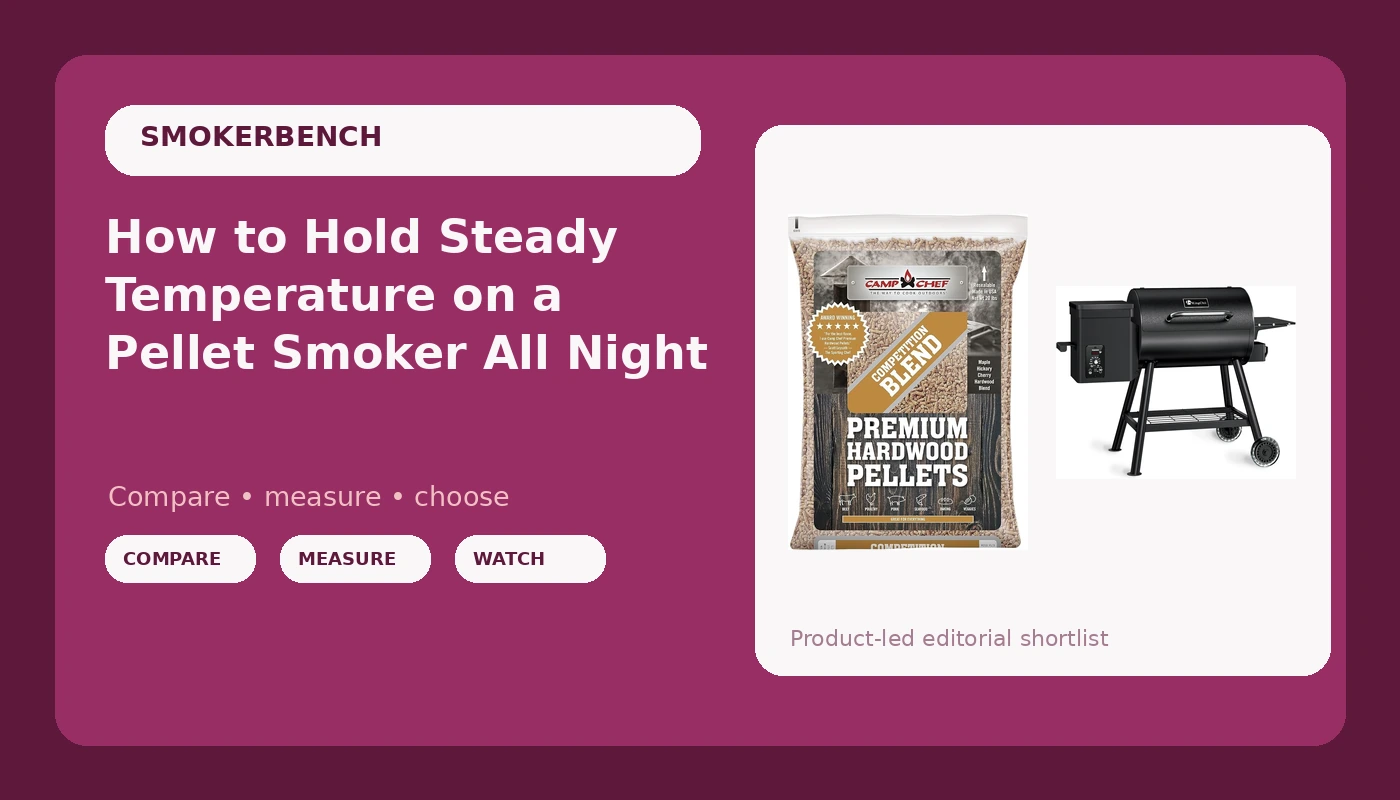
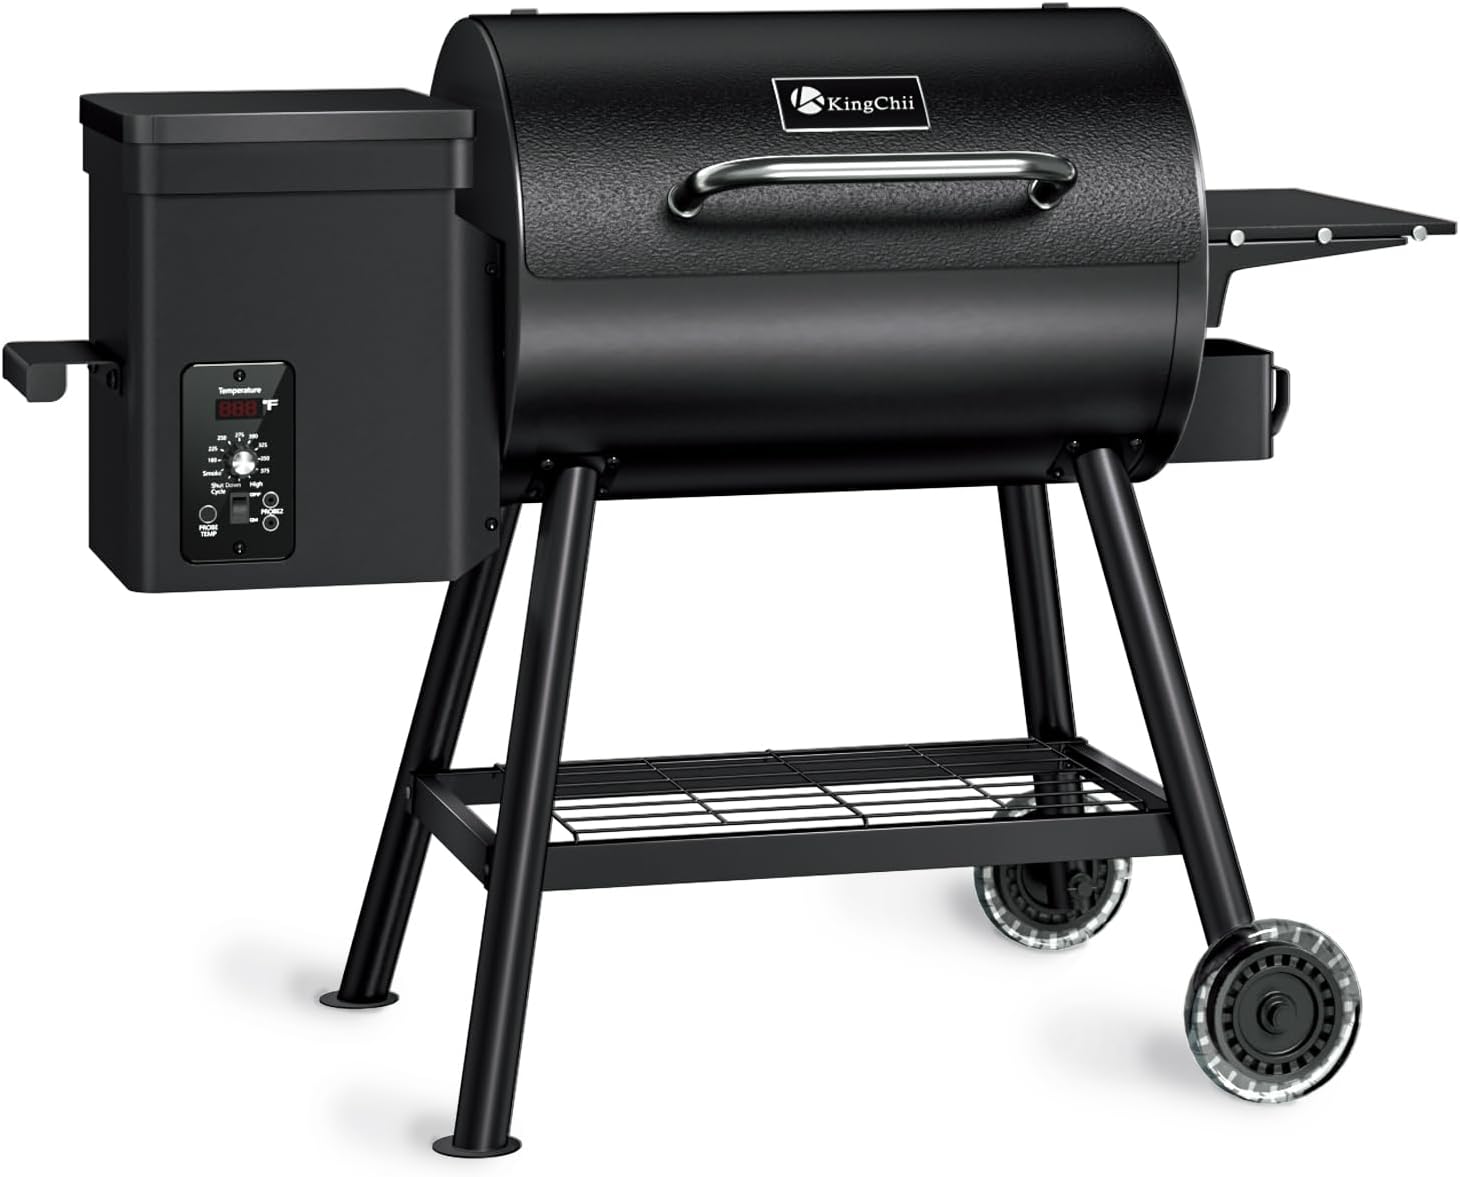
The rig: KingChii Electric Wood Pellet Grill & Smoker with Side Shelf, 456 SQ.IN Grill Capacity, with PID Temperature Control (180-425°F) for Backyard Camping Bake and Roast, Black
 Visit on Amazon →
The part of this grill that matters for a guide about hold time is the PID controller and its 180 to 425°F range. That spread covers the two jobs a backyard cooker actually has: low and slow at 225 for brisket and pork shoulder, and a hot finish past 400 for chicken skin and reverse seared steaks. A controller that cannot hold the low end is useless for overnight cooks. A controller that cannot climb past 350 is useless on a Sunday afternoon when the kids want wings.
PID control is the right architecture for stability. It reads the chamber temp, compares it to the set point, and adjusts the auger feed instead of running on a fixed timer. That is the difference between a grill that corrects a drift and a grill that waits for the drift to get worse. The 456 square inches of cook surface is enough for a full packer in the middle and a couple of racks off to the side, and the side shelf gives you somewhere to set the drip pan and the probe case.
Two things I would tell a buyer before the first cook. First, clip a leave in probe at grate level regardless of what the controller display tells you. The display reads the chamber near its sensor, not the meat, and it is never the whole story. Second, run the two hour dry run before you trust it with a brisket. Every new rig earns its overnight cook.
Flaws but not dealbreakers: This is a backyard cooker, not a competition trailer rig. Treat it as a 225 machine that can also sear and it will serve you well. If you want a phone app and cloud graphs, bring your own thermometer and skip the middleman.
Anyone cooking for a family or a small backyard crowd who wants a real PID controller without paying for a name will get along fine here.
The fuel: Camp Chef Competition Blend BBQ Pellets, Hardwood Pellets for Grill, Smoke, Bake, Roast, Braise and BBQ, 20 lb. Bag
 Visit on Amazon →
Fuel is where most temperature problems are born. Pellets that have taken on humidity feed unevenly, and pellets that crumble into dust in the auger cause the jam that kills a cook at hour six. A 20 pound bag of a hardwood competition blend gives you consistent pellet length and a predictable burn, which is exactly what the controller needs in order to do its job.
Smoke flavor comes from pellet quality and cook method, not from the size of the firepot. A hardwood blend is the right middle ground for a cook that runs from brisket to chicken to a Sunday roast. Keep the bag sealed and off the concrete floor. A bucket with a lid in the garage beats a torn bag in the shed, and it beats an auger jam at 11 PM.
Flaws but not dealbreakers: A 20 pound bag is one long cook and a couple of short ones, so buy two if you are planning an overnight brisket plus a weekend of grilling. Running out of fuel at hour nine is a self inflicted wound.
Anyone who wants a blend that behaves the same from bag to bag should start here.
The actual workflow: how to hold temp all night
Now the part you came for. This works on any pellet grill with a PID controller and a lid that seals. If your grill cannot hold 225 with the lid shut, the problem is fuel, airflow, or the rig itself, in that order.
Step one: start clean. Empty the firepot and vacuum the ash out of the chamber before a long cook. Ash insulates the firepot, blocks airflow, and makes the controller work harder to hold a set point. Ten minutes with a shop vac is the cheapest stability upgrade you will ever buy.
Step two: dry fuel only. Fill the hopper with pellets that have been stored dry and sealed. If the pellets feel soft, or you pour a cup of dust out of the bottom of the bag, do not run them on an overnight cook. Save them for a hot and fast chicken.
Step three: fill the hopper and level it. A full hopper feeds more consistently than a half empty one, because the weight of the pellets above keeps the auger channel packed. Level the pile instead of leaving a cone, so the pellets do not slide and starve the auger.
Step four: come to temp with the lid shut. Give the grill 20 to 30 minutes at your set point before the meat goes on. The metal has to come up to temperature and the controller has to settle. Load cold meat into a cold chamber and you will chase the set point for an hour.
Step five: set it, then leave it alone. This is the hard part. A PID controller corrects in cycles, and every time you open the lid you dump the heat and restart the cycle. I do not open the lid on a brisket for the first four hours. Not to look, not to spritz, not to take a picture.
Step six: put a probe where it counts. Clip a leave in thermometer at grate level, in the middle of the chamber, away from the firepot end and away from the meat. That is the number your cook depends on. The dome gauge on the lid is a decoration.
Step seven: add thermal mass. A water pan on the far side of the grate does two jobs. It buffers temperature swings and it keeps the chamber humid, which helps the smoke ring and slows moisture loss on a long cook. On a windy day it is the difference between a 12 degree swing and a 25 degree swing.
Step eight: manage wind, not weather. A 25 mph Kansas wind will pull heat out of any cooker. Park the grill so the wind hits the back or the side, not the open front, and put up a barrier if you have one. Never block the exhaust, and never wheel the grill into a closed garage. Carbon monoxide does not care how good your brisket is.
Step nine: log the numbers and wait for a trend. Write the temp down every 30 minutes, or use a probe that graphs it. Only adjust the set point after you see a 20 to 30 minute trend, never after one reading. Chasing a single number is how people end up at 275 without meaning to.
Step ten: wrap on schedule, not on panic. When the bark is set and the color is where you want it, wrap and let the cook finish. A wrapped brisket is far more forgiving of a small swing than an unwrapped one.
Where a stable cook falls apart
The failures are predictable once you have seen enough graphs. Damp pellets jam the auger. A dirty firepot starves the flame. A half full hopper feeds unevenly. A grill sitting in direct afternoon sun runs hot on one side. A drip tray full of grease flares and spikes the chamber temp. A controller that overshoots on startup will overshoot all night.
Cold weather is its own problem. Thin steel loses heat faster than the auger can replace it, which is why a windbreak matters more in January than any app feature ever will. If a grill cannot hold temp in a 25 mph wind, no firmware update is coming to save you.
And one more: "set it and forget it" is a marketing phrase, not a technique. Nothing on a smoker is forgettable. The point of a stable rig is that you check the graph instead of babysitting a fire, not that you stop paying attention.
The competition and why it lost
Stick burners and charcoal cookers are a different craft, and I would rather point you to the right tool than pretend a pellet grill replaces them. If you want to split logs and manage a coal bed, that is a different guide and a different set of skills.
WiFi controllers, cloud graphs, and app notifications are convenience, not stability. I judge on the cook, not the phone. A grill with a mediocre controller and a great app still swings 30 degrees, and an app that drops its connection at 11 PM is worse than no app at all.
The other gear that shows up in these conversations, standalone thermometers, pellet storage buckets, grill covers, ash vacuums, belongs in its own guide. Today is about holding a set point with the two pieces of hardware that actually move the needle.
What this all costs
The grill is the one time cost. The pellets are the recurring one, and they are the line item that decides whether you cook once a month or every weekend. Check current Amazon price on both and do the math against what you spend on meat, because a packer brisket costs more than the fuel that cooks it.
The real cost of an unstable cook is not money. It is the brisket you dried out because the chamber ran to 275 while you slept, and the 2 AM hopper refill that a full bag and a level pile would have prevented.
Buy a rig with a real PID controller. Buy dry hardwood pellets and store them like they matter. Clean the firepot, keep the lid shut, and log the numbers. Do that and you will hold temp while you sleep, which is the only spec that has ever mattered to me.